
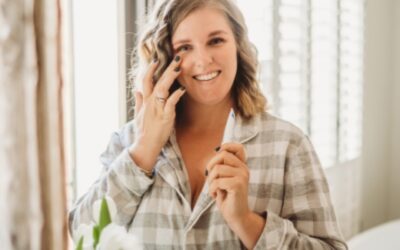
A smokey eye and neutral lip is a classic look that I have really been enjoying recently.
I have a super quick and easy method for this look and share it with you in today’s tutorial.
P.S. You can find a step-by-step transcription below
Everyday smokey eye tutorial – step by step
Hi everyone and welcome back to my channel! I have a super quick and easy method for this look in today’s smokey eye makeup tutorial.
1. So first of all I’m going in with the new Urban Decay quick fix, this is a priming spray – it smells delicious just like coconut, and just really helps to prepare your skin all the makeup you’re going to pop on top of it.
After that I go in with Urban Decay self suggesting primer. I really love this, it really blows my skin out beautifully and it just gives my skin a bit of a healthy look to it.
2. For foundation, because I had a bit of a weird tan going on, I’m using two from Revlon. I’m mixing buff and nude together, and I’m just popping that onto my skin with my Cala beauty sponge.
I love these foundations, they last all day for me, I’m just putting on a little bit even though I’m blending quite a bit – oh, there’s Aria making a noise in my cupboard, she climbs into my cupboard and empties it out.
As I was saying, the Foundation’s work really well they are buildable and they don’t oxidize on my skin and they blend really, really, really, well. I’m just blending quite a lot because of the funny tan that I had.
3. I’m putting on the Catrice light-reflecting concealer just to brighten my under eyes. You’ll see I’ll go right into the corner of my eyes, just because I get quite dark in the corners of my eyes as well.
4. Next up is the Benefit Boi-ing, and this is perfect just to cover those dark circles. So I don’t put a huge amount on, but just over the areas where my dark circles are, and I blend that in with my finger.
Generally, it works really well, Benefit actually call it ‘industrial-strength concealer’, so you know it works.
5. To set it all in place, I’m using the Revlon Colorstay Pressed Powder Compacts. I’ve got the shade nude. This is such a perfect compact keep in your bag because it comes with the mirror and a little sponge all in one. So if you’re usually on the go and you do need a touch-up your powder quite often, this is definitely, definitely a win.
6. On to bronzing. I’m using the Mii Cosmetics Celestial Skins Shimmer. I’ve got the shade Aurora. It’s so beautiful, it gives a beautiful flush on the skin. Not too brown, not too pink.
I don’t think it’s the right colour for contouring, it’s not actually enough, but it just gives my skin a healthy glow.
It looks a little bit hectic right now, but once I finish my makeup it looks better!
7. On to the Stila Perfect Me Perfect Hue palette, and I’m starting with the lighter shade called ‘dynamic’. I’m just going to pop that all over my eyelid.
Next up I’m going in with ‘breath-taking’, and I’m just going to put that into my crease. Just to give my eyes a little bit more dimension. Especially because I do have hooded eyes, it’s really important for me to have a colour in the crease.
I should just take it a little bit higher as well, to create a bit of a better shape. Now I’m going to take the darkest colour ‘glamorous’, and I’m just going to put it in the outer corner of my eye and then blend it all together.
8. Then I’m going to go in with the Chanel Long Lasting Eyeliner. I’ve got mine in the shade ‘Agape’ I think that’s how you pronounce it. It’s a beautiful brown colour, and I’m just lining my top lids with that.
9. And then for my brows I’m going in with my favourite, the Essence Make Me Brow in the shade ‘brownie brows’.
10. For my inner corner highlight of my eyes, I’m going in with the Essence Two-in-One Eyeshadow Liner. I’ve got mine in the shade ‘light me up’, it works so well as an inner corner highlight!
11. Guys, this is my favourite mascara, the Urban Decay Perversion. And if you like dramatic eyelashes this is for you. If you like wispy eyelashes, not so much.
12. For lips, I’m going in with the NYX Soft Matte Lip Cream in the shade ‘Stockholm’. It’s the perfect everyday shade and I absolutely love it! I’m pretty sure this tub’s almost finished.
Over the top of that, I went in with the Urban Decay Lip Gloss, in the shade ‘beso’ just to give it a nice little pop of colour. And end it off with Urban Decay All Nighter Setting Spray.
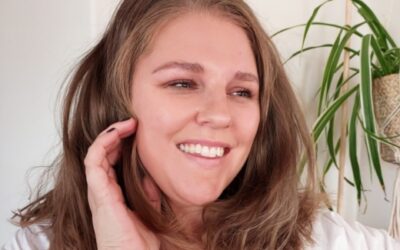
I hope you enjoyed this smokey eye tutorial and I’ll see you soon!


0 Comments